最近发现mac自带有一个ftp服务,于是想在本地的ecstore上设置ftp。
开启ftp服务:launchctl load -w /System/Library/LaunchDaemons/ftp.plist
停止ftp服务:launchctl unload -w /System/Library/LaunchDaemons/ftp.plist
用FileZilla连接本地ftp,可以正常连接。用php连接、登录ftp一点问题没有,但是ftp_nb_put的时候,返回0。打开报错,发现有个warning:ftp_nb_put() [function.ftp-nb-put]: Can't create data socket (127.0.0.1,20): Permission denied.
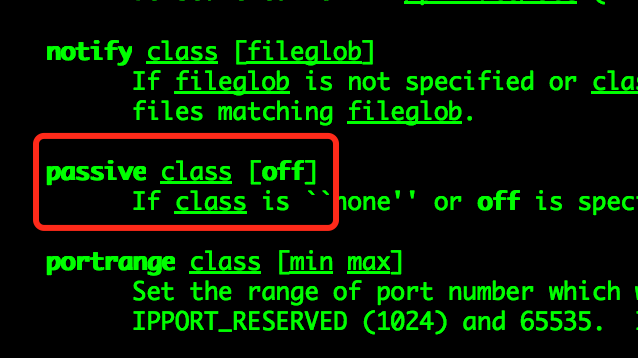
百思不得其解,Google、百度之,发现对于mac自带的ftp这块的资料少之又少(正好给我机会让我贡献一波),只能man ftpd一下了。
 几经波折,终于找到了解决方案。
[xiaowan@MacBook-Pro  /private]
$vim /etc/ftpd.conf
#增加下面的配置
classtype       admin   REAL
homedir admin   /data/ftp
passive admin   on

[xiaowan@MacBook-Pro  /private]
$vim /etc/ftpusers
#增加下面的配置
suvan   allow   admin
更改配置之后,ecstore还需要改下代码,因为ecstore使用ftp时,默认使用的是主动模式。需要再ftp连接之后,设置ftp被动模式。ftp_pasv($this->conn, true);
至此,ecstore就可以在本地正常使用ftp了。
您可以选择一种方式赞助本站
支付宝扫一扫
微信扫一扫